Flutter
Setting Up Flutter Development Environment

Table of Contents
- Installing Flutter SDK
- Setting Up an IDE for Flutter Development
- Configuring Flutter for Development
Setting up your development environment for Flutter is pretty straightforward. First off, make sure your computer meets Flutter’s requirements, which vary depending on whether you’re using Windows, macOS, or Linux. Then, head over to the Flutter website and download the Flutter SDK. Once you’ve got it downloaded, extract the files and add the Flutter bin directory to your system path. If you’re planning to develop for Android, it’s a good idea to install Android Studio, and if you’re on a Mac and want to develop for iOS, you’ll need Xcode. Make sure you set up an emulator or simulator for testing your apps, or you can connect a physical device if you prefer. After all that, run flutter doctor in your terminal or command prompt to check everything’s set up correctly. And that’s it! You’re all set to start building awesome Flutter apps.
System Requirements
- Operating System: macOS 10.14 (Mojave) or later, Windows 64-bit, or Linux 64-bit
- Disk Space: 2.8 GB (not including IDE/tools)
- Tools: Git, Flutter SDK
Installing Flutter SDK

Windows
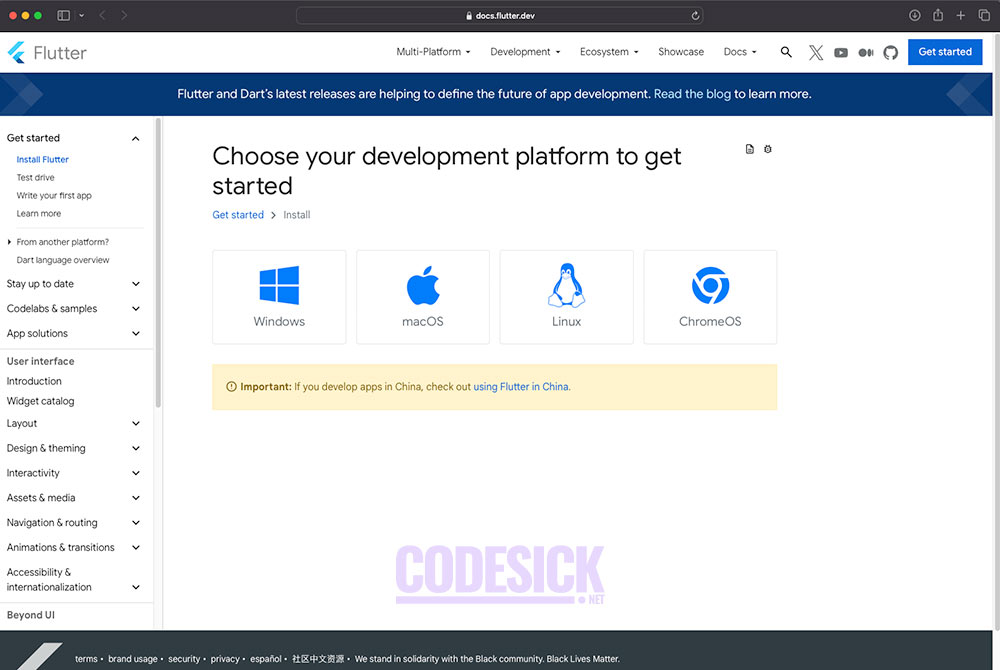
- Download: Head to the official Flutter website, Download Flutter “Stable Channel” bundle for Windows.
- Install: Run the downloaded installer (e.g.,
flutter_windows_stable.zip) and follow the on-screen instructions. Choose a location where you want to install Flutter (e.g.,C:\flutter). - Add to Path: You need to add the Flutter installation directory to your system’s PATH environment variable. This allows you to run Flutter commands from any terminal. Follow these steps:
- Right-click on “This PC” (or “My Computer”) and select “Properties”.
- Go to “Advanced system settings” and then click on the “Environment Variables” button.
- Under “System variables”, find the “Path” variable and click “Edit”.
- Click “New” and add the path to your Flutter installation directory (e.g.,
C:\flutter\bin). - Click “OK” on all open windows to save the changes.
- Verify: Open a new terminal window and type
flutter doctor. This command should show you a list of dependencies and their status. If everything is installed correctly, you should see green checkmarks next to all items.
Mac
- Download: Go to the Flutter website and Download Flutter “Stable Channel” bundle for macOS.
- Extract: Double-click the downloaded
.zipfile to extract the Flutter files. This might create a folder named “flutter” on your desktop. - Move: Move the extracted “flutter” folder to a desired location, preferably somewhere outside your user directory (e.g.,
/codesick/flutter). - Add to Path: Open your terminal and run the following command to add Flutter to your PATH:
echo 'export PATH=$PATH:/codesick/flutter/bin' >> ~/.zshrc
Replace /codesick/flutter with the actual path where you moved the Flutter folder.
5. Reload: Source your shell configuration for the changes to take effect:
source ~/.zshrc
- Verify: Run
flutter doctorin your terminal. You should see green checkmarks indicating successful installation.
Linux
- Download: Choose your preferred installation method (snap, manual, etc.) from the Flutter website. We’ll focus on the manual method here.
- Download: Download the “Stable Channel” bundle for your Linux distribution.
- Extract: Extract the downloaded
.tar.xzfile to a desired location (e.g.,/codesick/flutter). - Add to Path: Open your terminal and edit your shell configuration file (e.g.,
.bashrcfor Bash). Add the following line, replacing/codesick/flutterwith the actual path:
export PATH=$PATH:/codesick/flutter/bin
- Reload: Source your shell configuration for the changes to take effect:
source ~/.bashrc
- Verify: Run
flutter doctorin your terminal. You should see green checkmarks confirming the installation.
Setting Up an IDE for Flutter Development
Android Studio
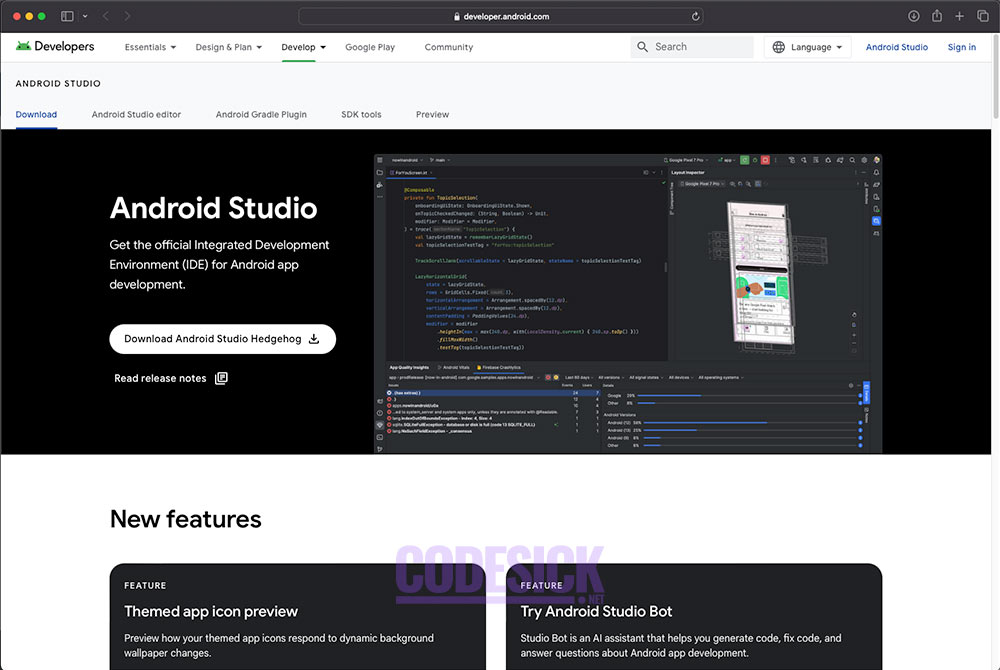
- Download and Install: Download Android Studio from the official website and follow the installation instructions.
- Install Flutter Plugin:
- Open Android Studio.
- Go to File > Settings (or Android Studio > Preferences on macOS).
- Search for “Flutter” in the Marketplace tab.
- Click “Install” and restart Android Studio.
- Create a New Flutter Project:
- Click on “New Flutter Project” in the Welcome window or select File > New > New Flutter Project from the main menu.
- Follow the prompts to specify your project name, location, and desired features.
Visual Studio Code
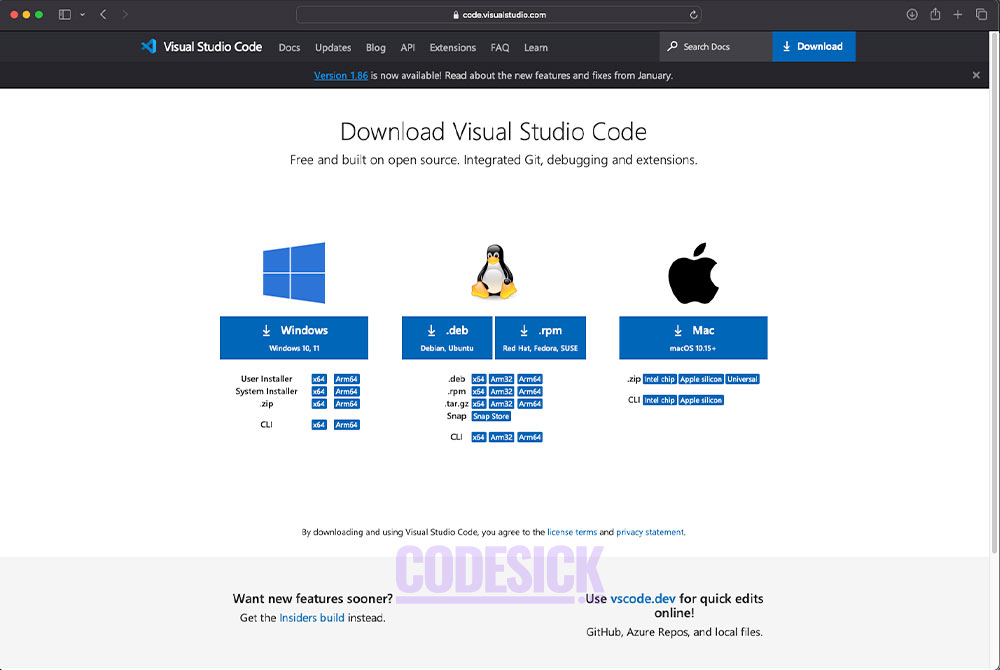
- Download and Install: Download Visual Studio Code from the official website and follow the installation instructions.
- Install Flutter Extension:
- Open Visual Studio Code.
- Go to the Extensions tab (Ctrl+Shift+X).
- Search for “Flutter” in the Marketplace.
- Click “Install” and follow the setup instructions.
- Create a New Flutter Project:
- Go to the Command Palette (Ctrl+Shift+P) and type “Flutter: New Project”.
- Select “Flutter: New Application” and follow the prompts to define your project details.
Configuring Flutter for Development
- Pick a Device or Emulator:
- If you have a phone or tablet, plug it into your computer and turn on developer mode. You can find out how to do this on the Android or iOS websites.
- If you don’t have a physical device, you can use a virtual one. You can get an Android emulator from Android Studio or an iOS simulator from Xcode.
- Connect to Your Device or Emulator:
- Make sure your coding program (IDE) can see and talk to your device or emulator. For Android, this might mean turning on USB debugging. For iOS, you’ll need to start the simulator using Xcode.
- Set Up Your Project:
- If you’re making an Android app, you can adjust settings like which version of Android it works with and how it’s built in Android Studio.
- If you’re making an iOS app, you’ll do this in Xcode. You can set things like what the app icon looks like, how it’s signed, and what versions of iOS it runs on.